Be in the Know
Elevate your industry knowledge with yoga articles and insights crafted by experienced industry experts
The knee is one of the most commonly injured joints in the body with 24% of all knee injuries being associated with the patella (Nicholl, 1991). While football and rugby directly cause most sports-related knee injuries, a number of other activities also contribute to knee dysfunction through over-use.
Cycling and running, for example, require an extreme amount of work from the quadriceps, especially the rectus femoris and vastus lateralis muscles. These work strongly as the prime mover during the extension of the knee joint which is when the power output is really needed to propel the athlete forwards in a sagittal plane, before the hamstrings take over and flex the knee, allowing the quadripceps to again lengthen out and briefly recover. When this is done with great repetition, the rectus femoris and vastus lateralis become increasing strong and due to the repetitive concentric contraction of these muscles, the muscle fibres have the potential to become shorter, particularly if flexibility work is not frequently performed.
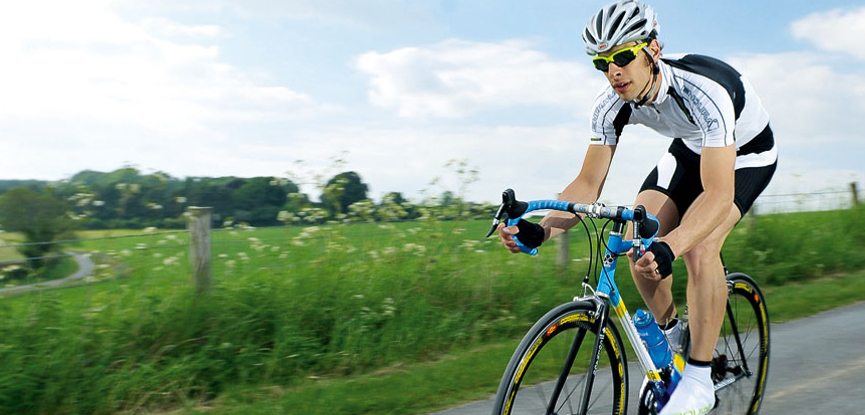
The muscles then pull excessively on the quadriceps femoris tendon, pulling the patella laterally towards the outer leg. Tightness in the iliotibial band can also contribute to this misalignment. This creates friction under the patella when engaging in any movements that requires the knee to flex, and as a result, the cartilage of the knee begins to wear out. If this is left untreated it can lead to a condition called chondromalacia patellae (CMP).
The good news is this kind of misalignment can often be corrected by addressing the underlying muscle imbalances. By strengthening the muscles of the inner leg (e.g. vastus medialis and gracilis) while lengthening and releasing the muscles on the lateral surface of the leg (e.g. vastus lateralis, iliotibial band, tensor fascia late and gluteus medius) with a programme of foam rolling, stretching and deep tissues massage the effects of this adaptive shortening can be reversed.
Extra attention to knee alignment during exercise should also be given to ensure that the knee remains appropriately aligned over the ankle during locomotion activities like walking and running. It’s also important to ensure that the correct footwear is worn. Wearing pedal cleats while cycling is a highly effective way to help distribute weight evenly through the foot and for maintaining good alignment of the ankle and knee. If you cycle and you don’t already use these, it’s strongly advisable that you do. Especially if you already have trouble with your knees.

Cross-training is one of the best ways to promote muscle balance and holistic strength within the body. Too much repetition in any programme breeds dysfunction. This is where yoga fits in really well because the practice helps to release tight muscles and strengthen weaker ones. However, it is still very important to note that even yoga practice has the potential to damage the body as opposed to heal it if it not performed correctly.
When performing any yoga posture that requires the knee(s) to be appropriately stable and aligned, it’s imperative that sufficient attention to detail and awareness is given to this area, particularly those which require the knees to be flexed. For example, beginners often practice Warrior I and Warrior II with the knee in alignment with the toes, and then drop the knee in towards the big toe. This not only encourages the meniscus tendon to overstretch, but it also contributes to a further imbalance of the thigh muscles.
Ideally, the knee will be positioned directly over the ankle because this not only helps to protect the patella tendon, it also strengthens the connective tissues surrounding and supporting the knee. In addition to its vertical alignment, the knee should also be aligned with the second and third toe so the quadriceps are equally engaged, and the knee is stabilised as much as it can be during this flexed position. If the knee joint is already injured however, consistently working through the joint in yoga can exacerbate the condition. Consequently, pain levels rise and the knee becomes less stable.

A much more stable position for a knee that is injured is Triangle Pose, as both knees are fully extended throughout the asana. All the components of the legs, the head of the femur, the tibia and fibula, fit together perfectly and the connective tissues are kept taught, and so are in a more supportive state. This is only the case however, if the muscles of the upper leg are strongly activated throughout the posture.
This causes the patella to lift slightly upwards towards the thigh. The upward shift of the patella indicates that the thigh muscles have been engaged and that the knee is more likely to have a greater level of stability afforded to it. It is this attention to detail that helps to bring strength and stability to the body, and is very much needed when using yoga with clients that have knee injuries.
There are also other yoga postures that yogis should be cautious of, especially if there is tightness elsewhere in the body, particularly in the hips. This is because inflexible hips directly affect the movement at the knee joint, and vice versa. These two structures are inextricably linked and share many of the same muscles on their posterior, anterior and lateral surfaces. The following range of postures should, therefore, be considered ‘relatively contraindicated’ for those with knee conditions and additional care and consideration should be given as to their appropriateness:
While the above postures can be wonderfully beneficial postures when performed by students with ‘physical openness’ and who are injury-free, they can place excessive and unnecessary levels of pressure knees, particularly because they also involve some level of rotation.
In conclusion, always pay attention to where your knees are and how they are feeling, especially during postures that require the knee to flex. Never force a posture and remember that the hips have a big influence on the knees, so it is worth working on opening these too. Eventually, with regular and considered practice your hips will feel more open, your knees stronger and your body will move more freely.
Try this yoga sequence to strengthen the knees and release tight hips. Ensure you are warm before you begin and aim to hold each yoga pose for at least five deep breaths……
Tree Pose (Vrksasana)
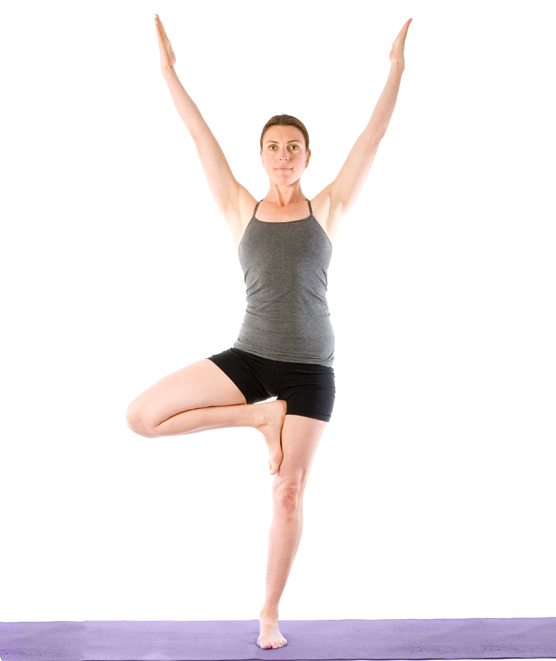
Ensure the hips remain level and the left leg is completely straight with the quadriceps strongly contracted. If deep flexion of the left knee joint is uncomfortable, place the foot on the inside of the lower leg as opposed to the inside of the upper leg. Repeat on the opposite side.
Triangle Pose (Trikonasana)
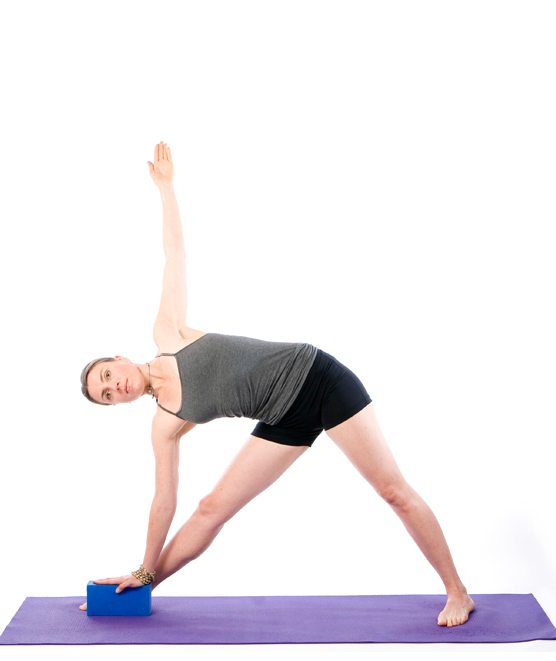
To help open the hips, externally rotate the left hip so it aligns directly over the right hip. Ensure the legs are completely straight with the quadriceps strongly contracted. Pressing the feet firmly on to the ground will help to create a feeling of stabilization. Repeat on the opposite side.
Eagle (Garudasana)
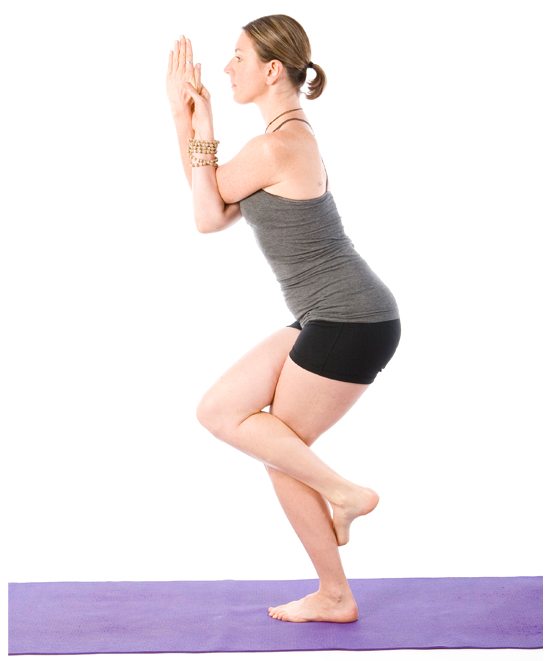
Place the right leg over the left and press the legs together firmly and align the knees directly under the elbows. Only place the right foot behind the left lower leg if it is comfortable on the knee joints otherwise allow the right foot to relax. Repeat on the other side.
Warrior 2 (Virabhadrasana II)
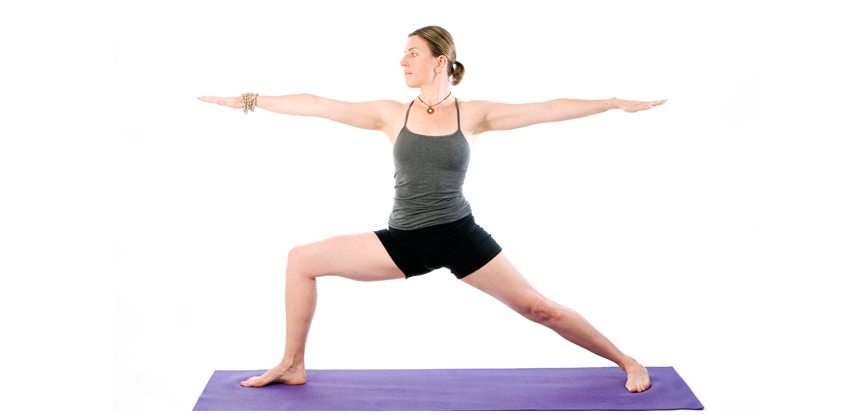
Press the outer edge of the left foot firmly in to the ground to help contract the leg muscles strongly. Align the right knee directly over the ankle with even weight through foot to encourage balanced muscle fiber recruitment. Repeat on the other side.
Downward-Facing Dog in to Downward-Facing Dog Variation (Adho Mukha Shvanasana)
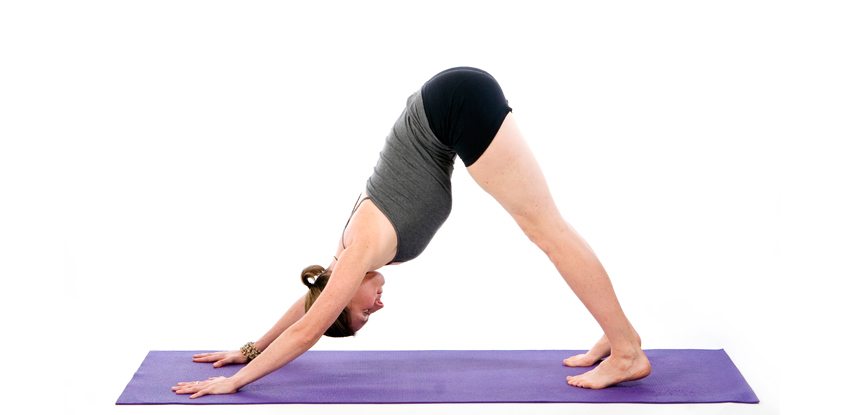
From Downward-Facing Dog Pose, raise the left leg and allow the knee to bend whilst externally rotating the left hip until a stretch is felt through the left hip flexors.
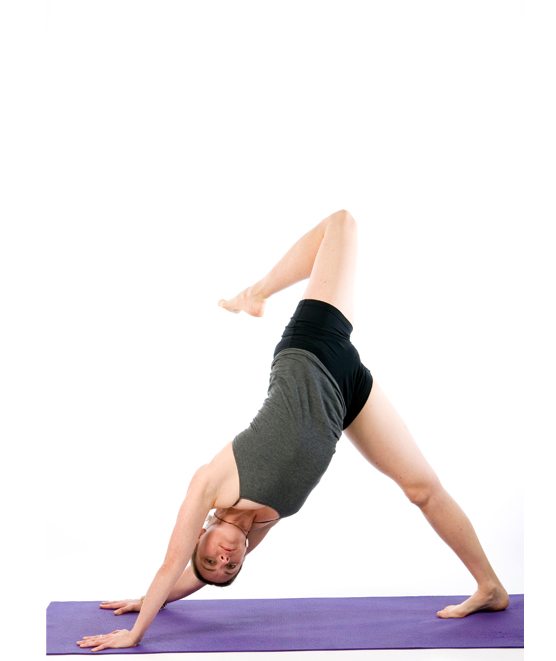
Keep the right leg straight and strong with the heel either moving towards the ground or on the ground. Repeat on the other side.
Lunge Variation (Anjaneyasana)
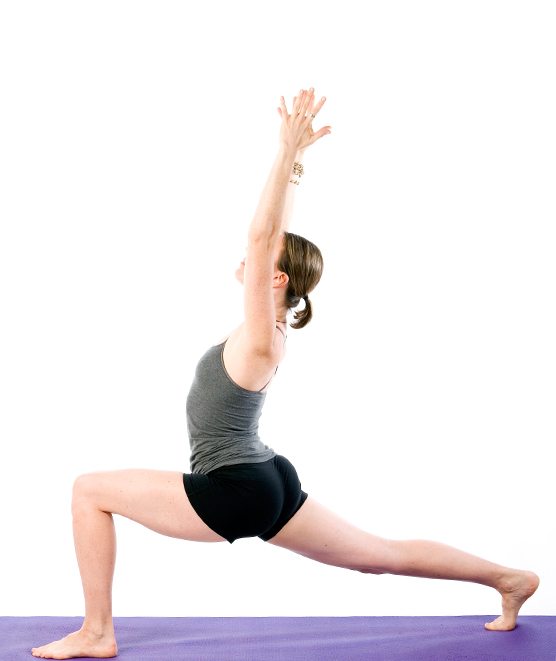
Allow the hips to sink forwards a little to stretch the glutes and hip flexors, using the arms for support. Let the right leg completely relax. You may need to add some padding under the right knee if it is injured. Repeat on the other side.
Head-to-Knee Pose (Janu Sirsasana)
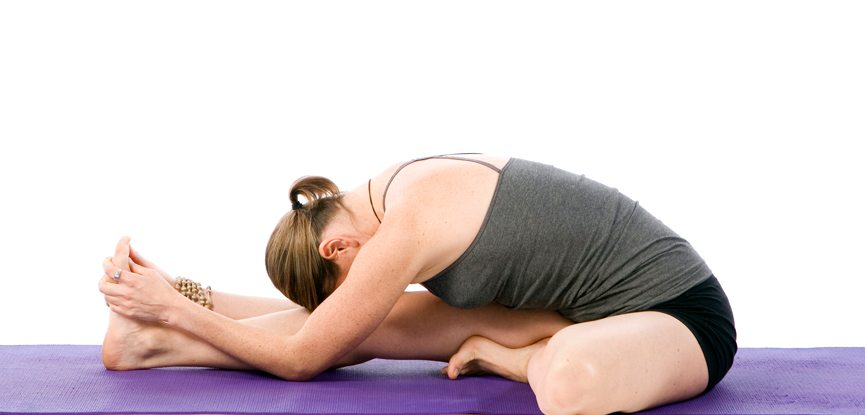
Fully extend the right leg and contract the leg muscles firmly. Bend the left knee and drop the left leg out to the side until it reaches the ground. Extend the upper body and arms over the right leg. If the left leg does not reach the ground or is injured, place a support such as yoga blocks under it. Repeat on the other side.
Bound Angle Pose (Baddha Konasana)
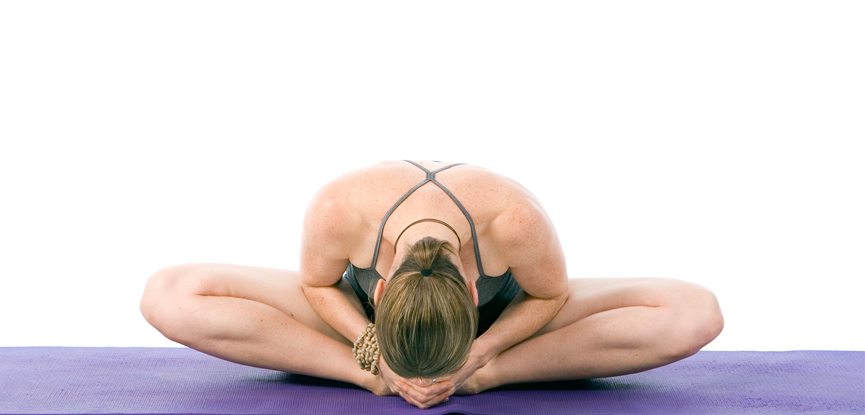
Place the soles of the feet together and let the legs slowly drop out to either side, again placing yoga blocks under the legs for support if needed. Place the hands on the feet and fold the upper body over the feet by tilting the pelvis forwards.
If you have a passion for being on the mat and you’re keen to expand your horizons, why not turn your love of yoga into a career with our internationally-recognised yoga instructor courses and online yoga teacher training.
References:
Nicholl JP, Coleman P, Williams BT. Injuries in sport and exercise. Sports Council, 1991.
Back to articlesAnd embrace the rich and vibrant world of yoga
Great news, you're on the list...